DVD-quality lessons (including tabs/sheet music) available for immediate viewing on any device.
Take your playing to the next level with the help of a local or online banjo teacher.
Weekly newsletter includes free lessons, favorite member content, banjo news and more.
Premier Sponsors





|
Please note this is an archived topic, so it is locked and unable to be replied to. You may, however, start a new topic and refer to this topic with a link: http://www.banjohangout.org/archive/278130
CS Memphis - Posted - 01/20/2014: 10:20:43
Back last summer, a friend - who also happens to be the official photographer for George Banjos and the Side Street Steppers - invited the band over for an afternoon get together at her place. There was another band there, too, and that is how we met and became friends with Lily & The Parlour Tricks, an awesome six piece out of New York City. Lily and her band had a big year in 2013, including have one of their songs picked up for a BMW TV commercial. Classy. You can check 'em out at
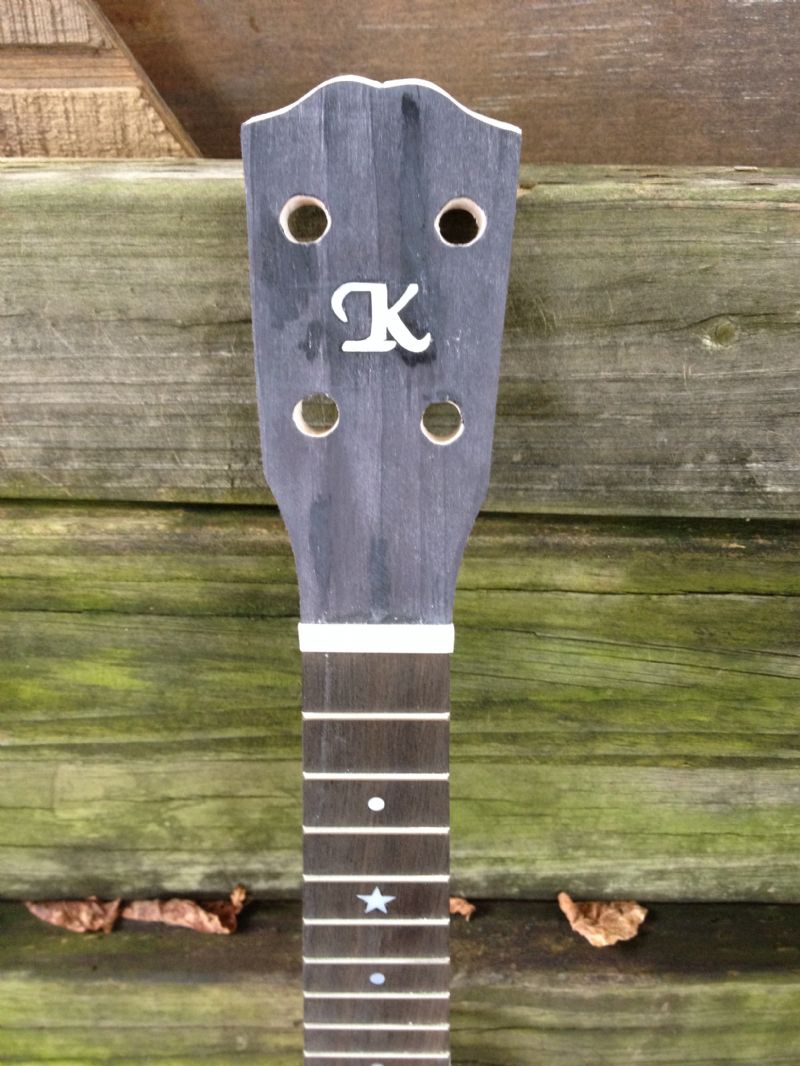
Anyway, Lily and the gang were impressed with all of Vera's handmade banjos and banjo ukes, and in the early fall, Lily contacted me to commission a banjo uke for her boyfriend. His name begins with a "K", so she wanted a MOP K in the peghead, otherwise a pretty straightforward build.
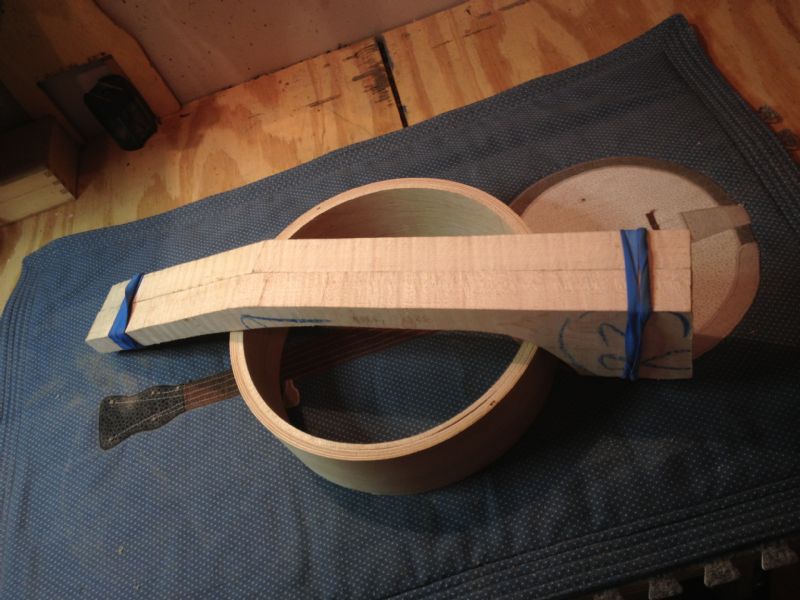
Here are the neck blank maple pieces and the 8" rim blank, which I had made up earlier and happened to have laying around.
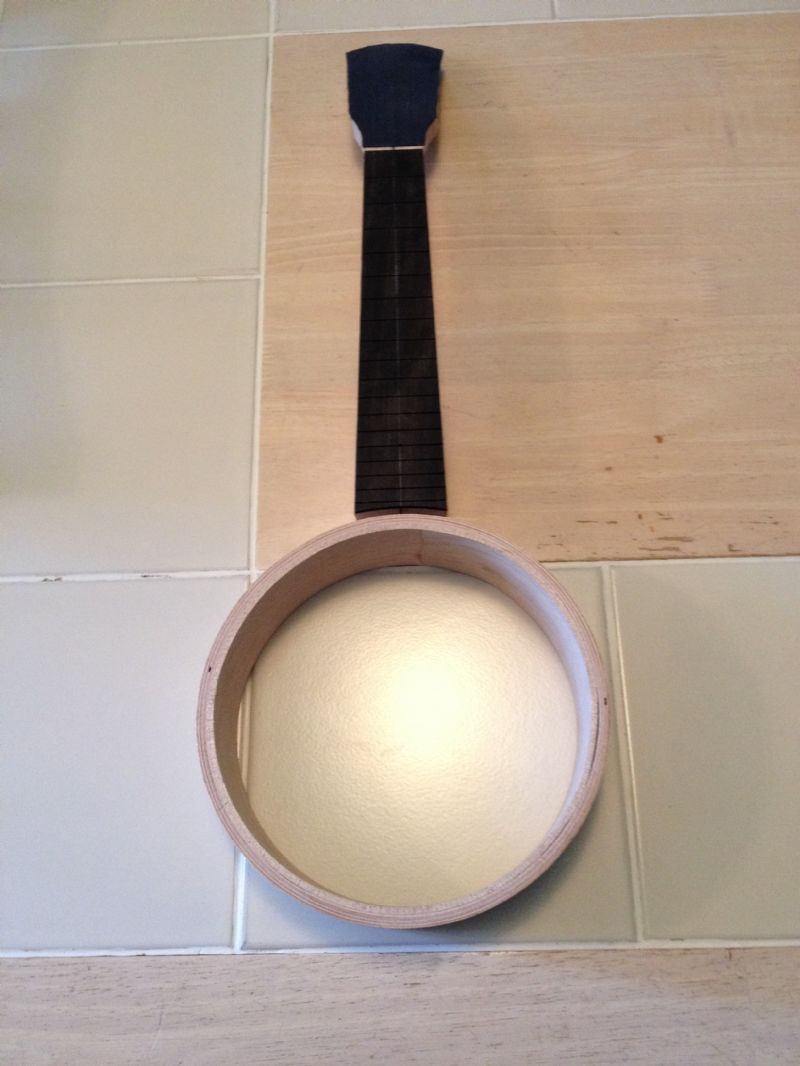
Next I glued the neck up, cut and slotted an ebony fretboard, glued on the fretboard, shaped the peaghead and glued on ebony peghead veneer. The photo below shows what it looked like after all of that work.
Then I drilled holes for the tuning pegs, finished shaping out the peghead, did peghead and fretboard inlay and frets, plus made and installed the nut, which left her looking like this:
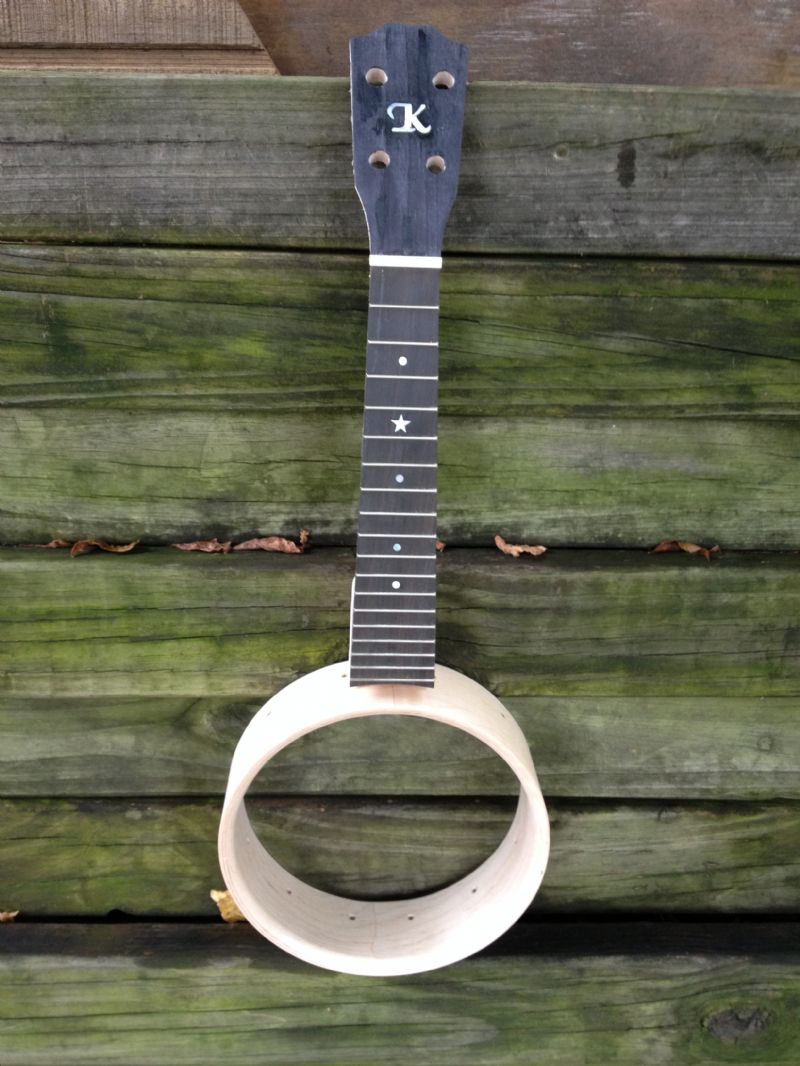
Turning attention back to the rim, we turned it down on the lathe out in Tommy's Somerville, TN shop, then shaped the wood tone rim. Back in Memphis, I drilled holes for the rim shoes. Here's how the whole banjo uke looked at that point.
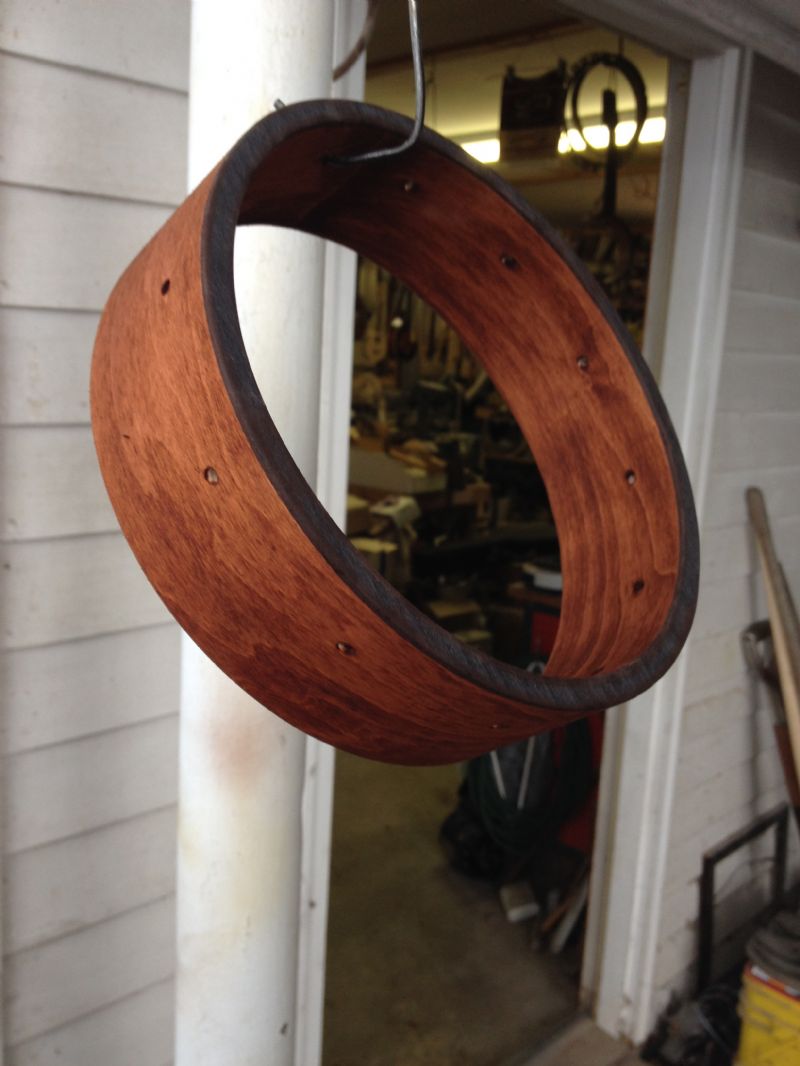
Next, it was time to stain the rim and get some color going. Lily opted for a nice brown tone, which came out like so.
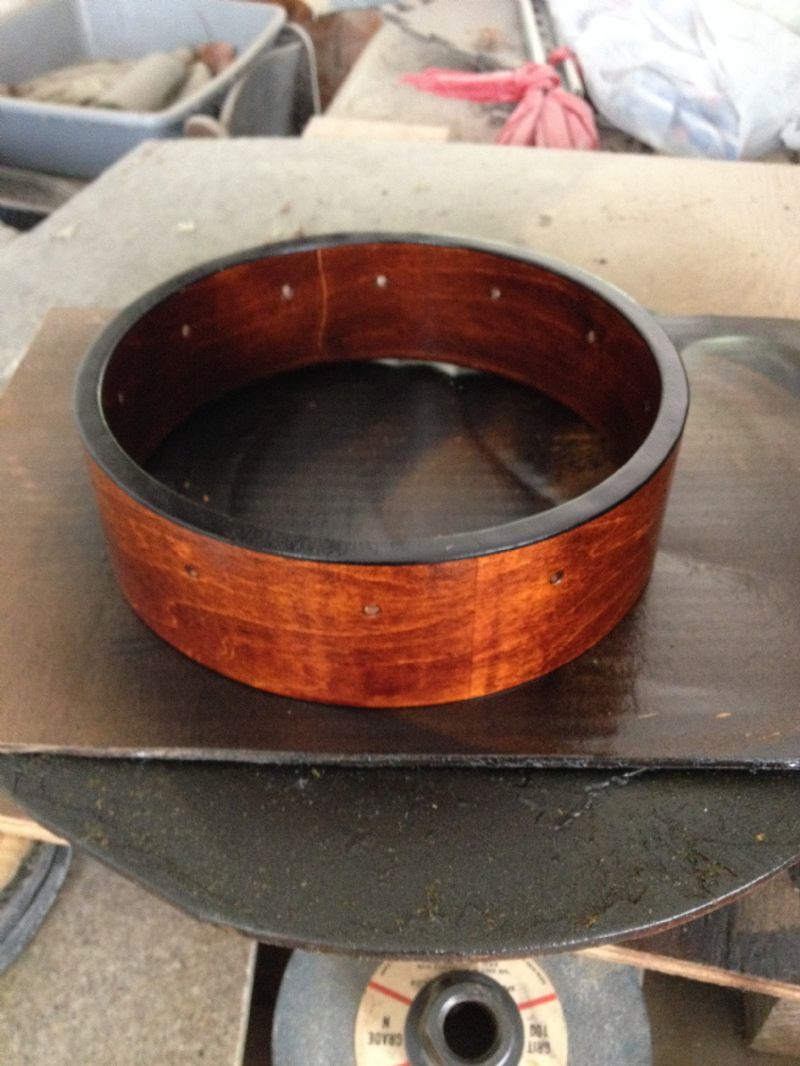
And here it is with a coat or two of sanding sealer.
Well, that's good enough to get us started. I'll try to post some more on this one later this afternoon.
CS Memphis - Posted - 01/20/2014: 14:59:01
Thanks, Mike and Bornold!
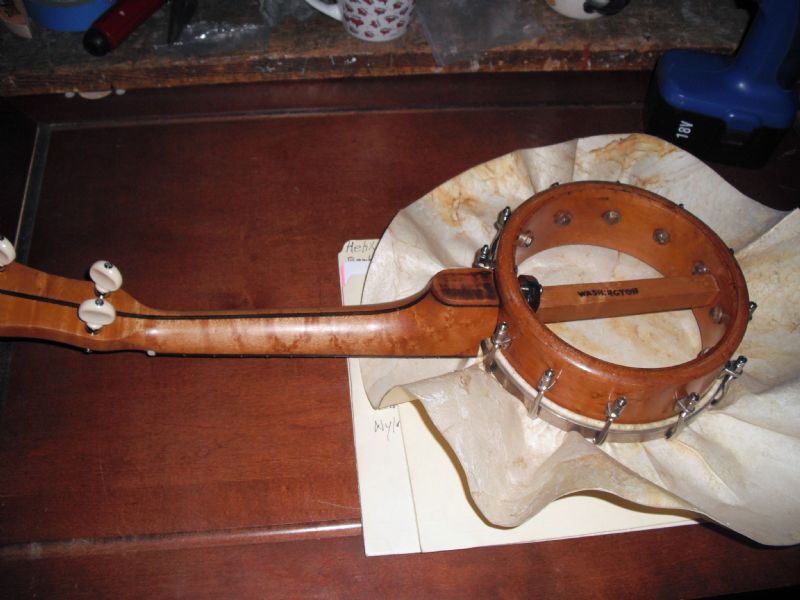
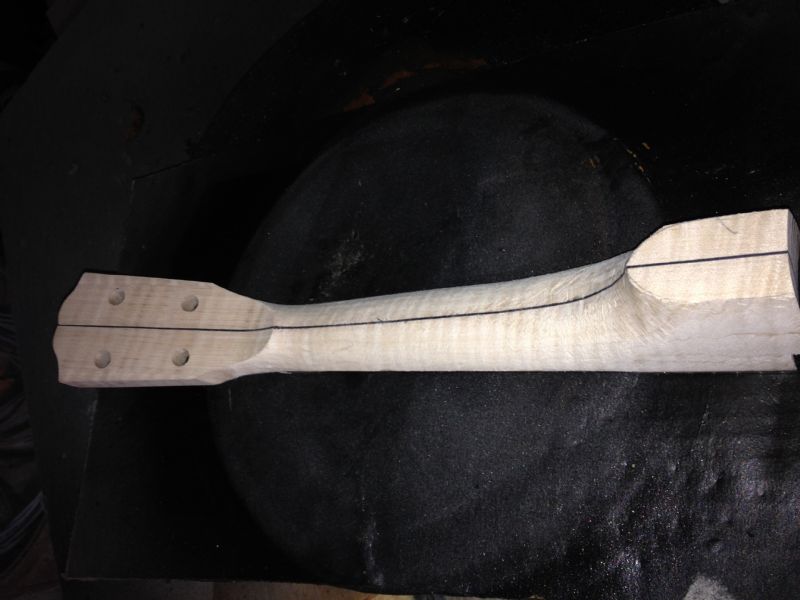
Alright, let's take a look at that neck! Here she is after the first pass at shaping with Stanley Sureforms and dragon rasps from Stew Mac. You can really see the nice curl here already, though it will become more apparent in the next pic and then of course really pop with stain and lacquer.
A little more shaping on the heel and it got a heel cap, then final shaping, filing and sanding. Ready for stain and finish now! (Note the Grace Note material under the neck here...)
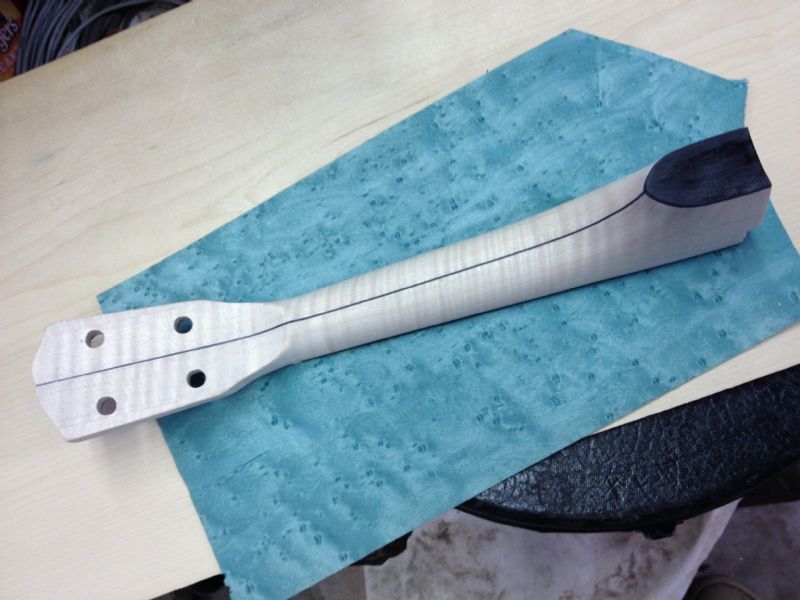
Next step is to tape off the fretboard...
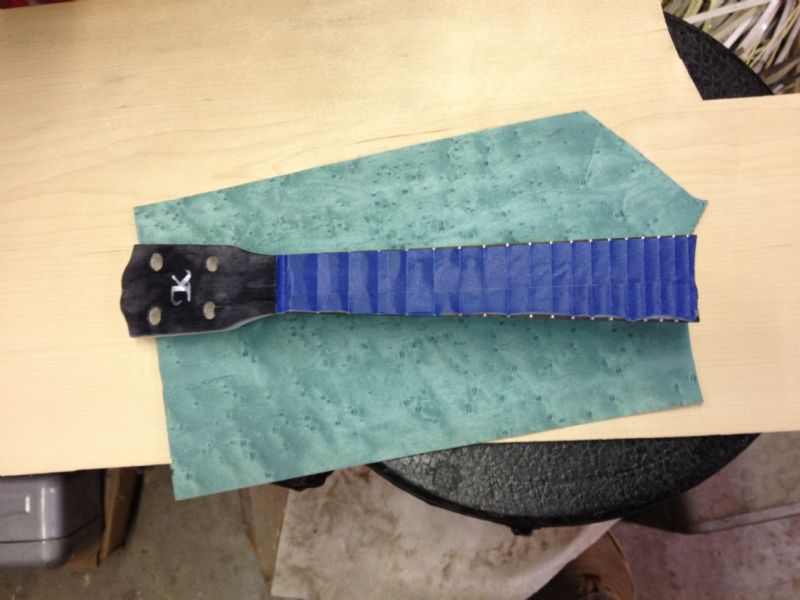
...and then stain the neck to match the rim.
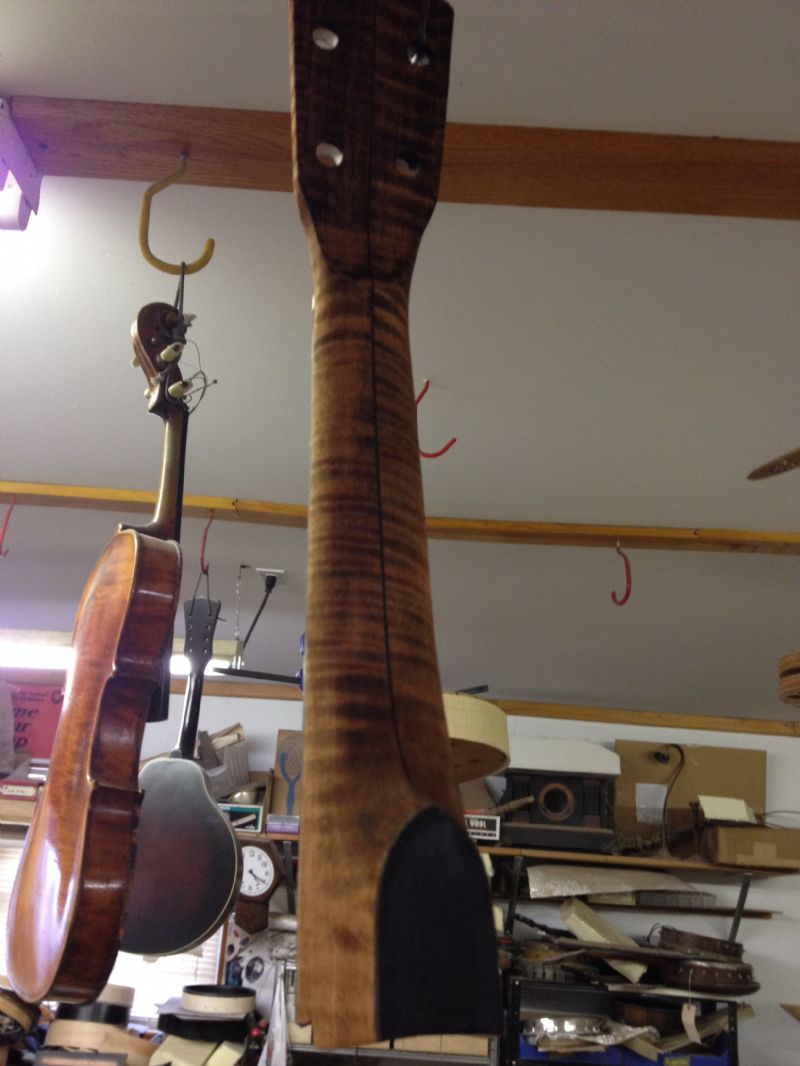
Now that the neck and rim are both stained, they get the nitro lacquer finish. Wound up going with a bit of a burst on the neck, kind of a classy look for this metropolitan banjo uke.
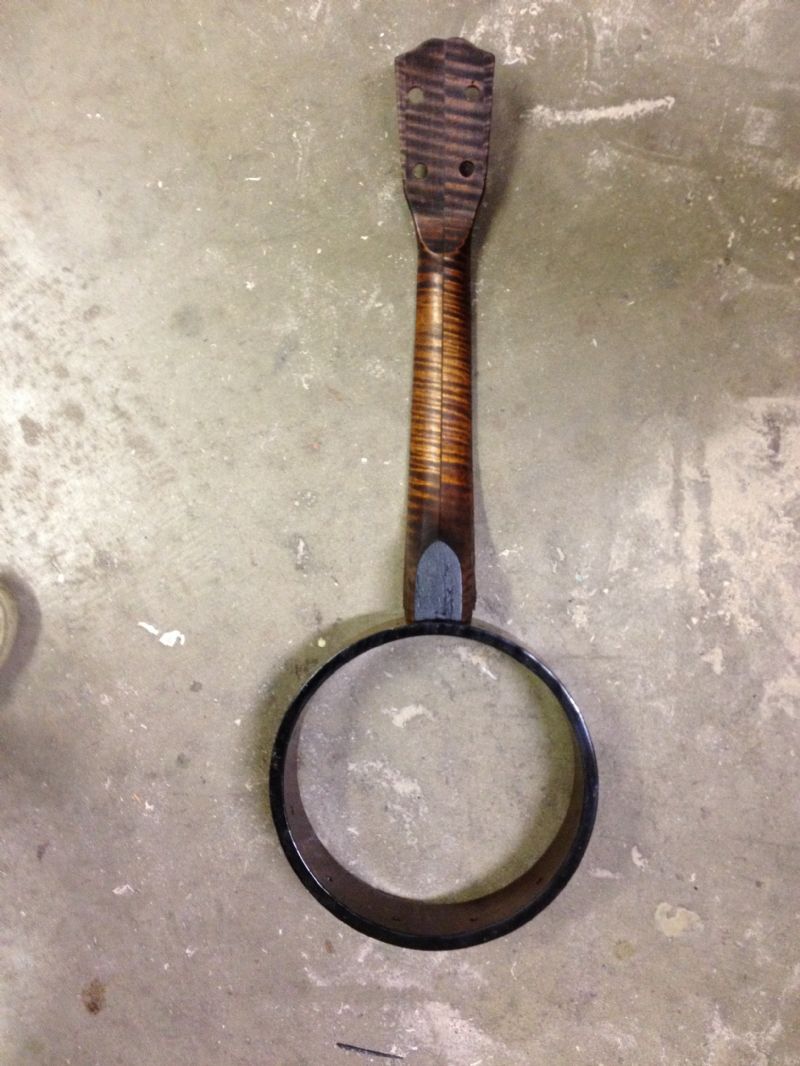
Okay, gotta run - more on this banjo uke tomorrow!
Mike D. - Posted - 01/22/2014: 06:23:32
Nice work. It's obvious that you love what you do. Very inspiring. I hope to be where you are someday.
CS Memphis - Posted - 01/22/2014: 06:55:38
quote:
Originally posted by Helixanother noisy cricket, nice work. Skin head?
Nope. This one got an amber Ren head, as do most of my banjo ukes. In general I use amber on the wood fretboard ukes and smooth white heads on the deco ukes with pearloid fretboards, though I will stretch a skin head at a customer's request.
CS Memphis - Posted - 01/22/2014: 07:05:22
quote:
Originally posted by Mike D.
Nice work. It's obvious that you love what you do. Very inspiring. I hope to be where you are someday.
The trick is to build a lot of banjos, as often as possible. I have ten builds on the bench now, and once they are all complete I will have built 48 banjos/banjo ukes/necks for conversions. So I have 38 under my belt now. Started the first build in late August of 2007, which makes 6 full years of time in the shop, though with juggling a marriage, a day job and a band that plays well over 100 shows per year, the amount of time I have in the shop varies widely and is never enough.
Whatever it takes, spend time building. I wouldn't even worry too much about getting it perfect or even right - just do the best you can but DO IT. I've learned just as much from mistakes as from anything else.
CS Memphis - Posted - 01/22/2014: 07:17:23
Back at it, early in the morning.
Here we have the fretboard taped off, and a coat or two of sealer on the neck and rim.
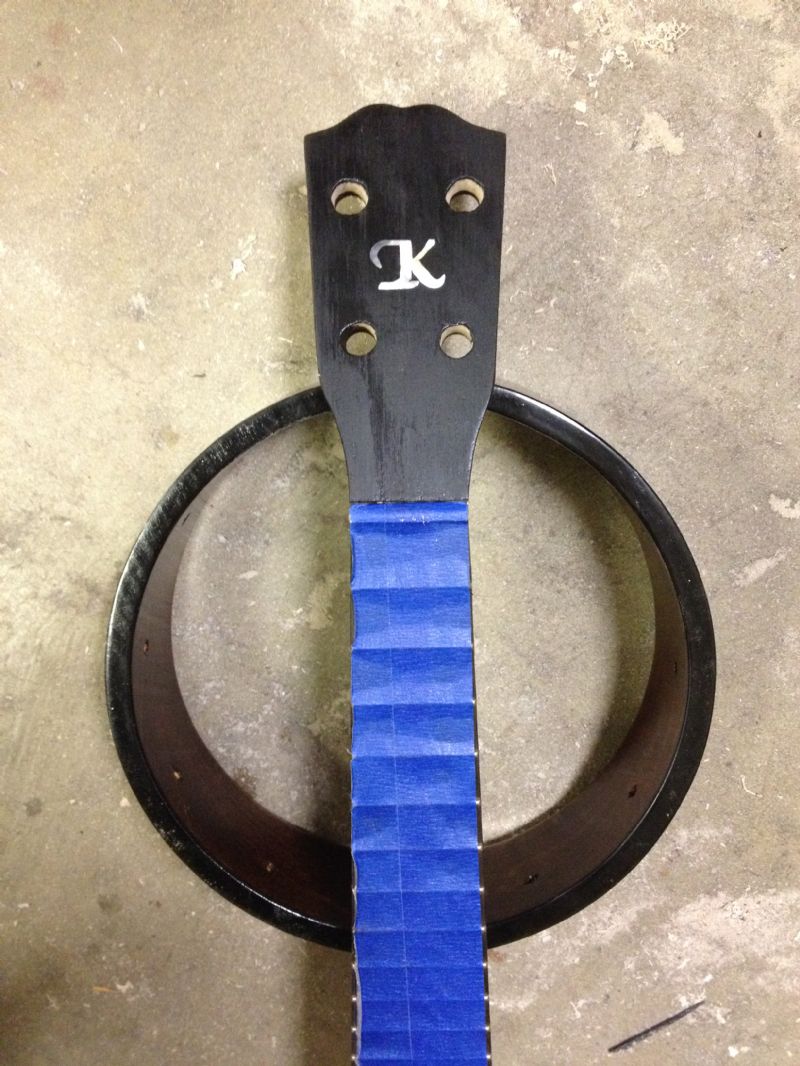
A billion coats of lacquer later, plus two weeks to cure out and a trip to the buffer...
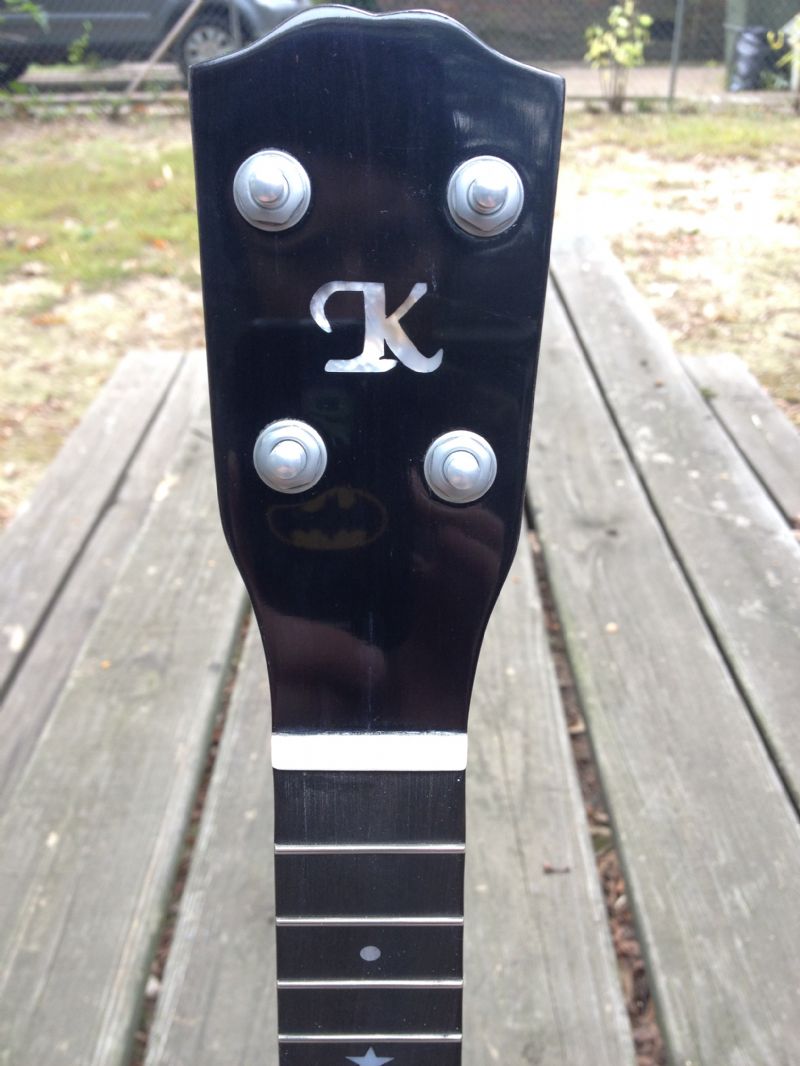
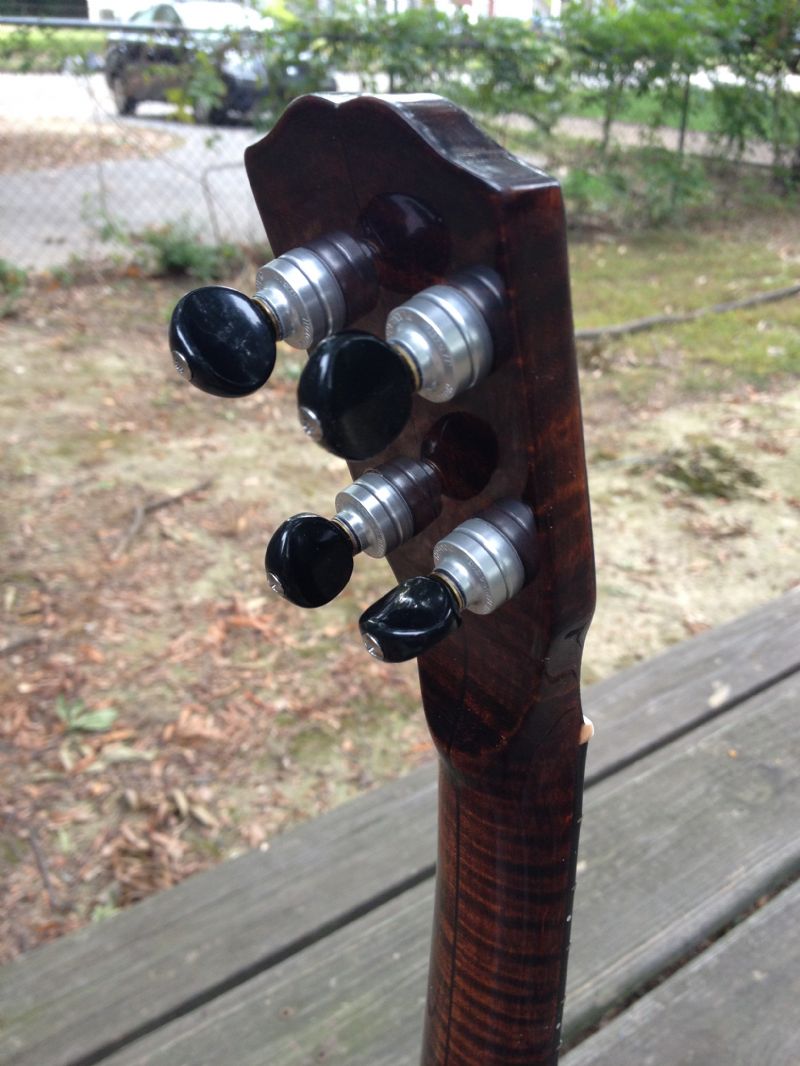
Oh yeah, and got the frets dressed and pegs installed. Pegs are the new Gotoh geared uke pegs, hands down the most awesome uke pegs on the market today. Picked them up from my good buddy Bob Smakula at Smakula Fretted Instruments. smakula.com/ (He has tons of other cool new and old parts, plus some pretty amazing vintage banjos, etc.)
Here's a nice shot of the back of the peghead and those incredible Gotoh gears.
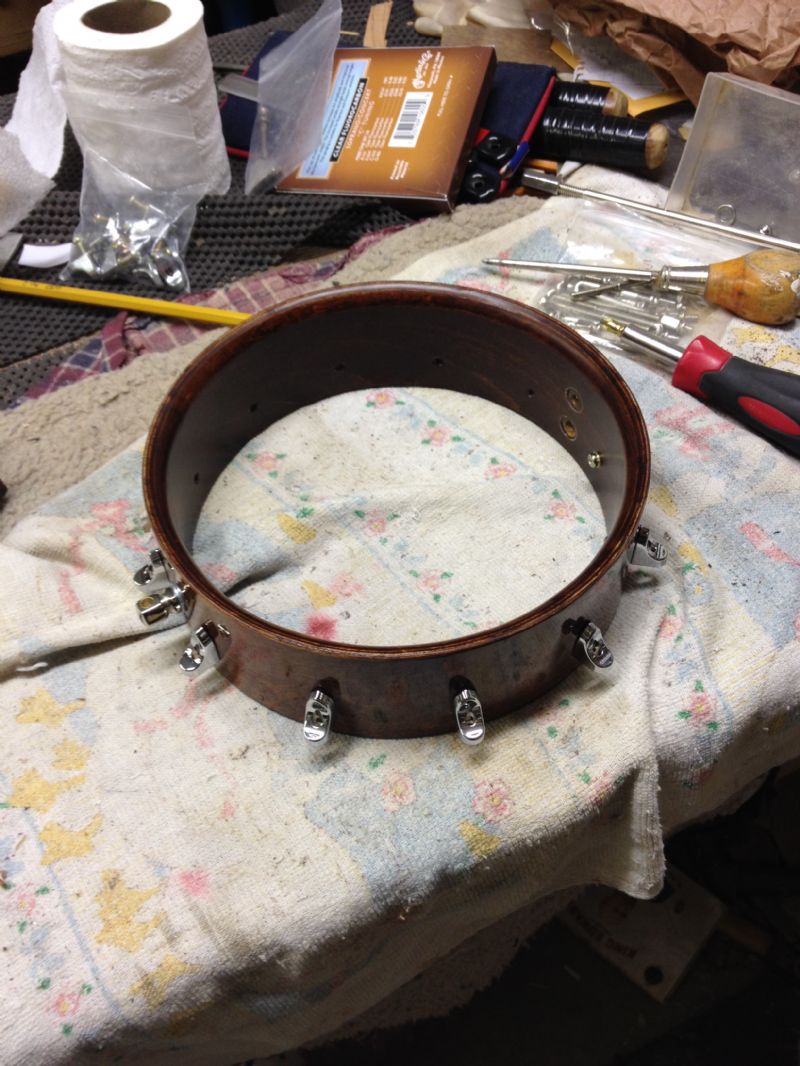
And finally, here's a shot of the rim getting shod with shoes of nickel. That's all for this morning, I'll post more manana.
trapdoor2 - Posted - 01/23/2014: 10:37:32
Lookin' good Christian!
Y'all gonna be @ BUW again this year?
CS Memphis - Posted - 01/24/2014: 06:58:26
quote:
Originally posted by trapdoor2Lookin' good Christian!
Y'all gonna be @ BUW again this year?
Vera and I should be there at least for Thurs and Fri - the band may have a wedding to play on the Sat of BUW, so we may have to cut short and scurry back home.
By the way, I finally got the audio file from Greg Adams from the Laurel Theater thing we did at the collector's gathering last year, and it sounded really good. Your cello banjo just makes the orchestra pieces perfect!
trapdoor2 - Posted - 01/24/2014: 07:37:47
quote:
Originally posted by CS Memphisquote:
Originally posted by trapdoor2Lookin' good Christian!
Y'all gonna be @ BUW again this year?
Vera and I should be there at least for Thurs and Fri - the band may have a wedding to play on the Sat of BUW, so we may have to cut short and scurry back home.
By the way, I finally got the audio file from Greg Adams from the Laurel Theater thing we did at the collector's gathering last year, and it sounded really good. Your cello banjo just makes the orchestra pieces perfect!
Send it to me! I didn't think to ask Greg for a copy...
Jim Yates - Posted - 01/24/2014: 08:11:55
Lovely little banjo uke. I love the flame on the back of the neck.
CS Memphis - Posted - 01/28/2014: 08:01:59
Once the pot hardware was installed, I mounted the head, attached the neck with a single coordinator rod and strung the little beauty up. Here's a shot of the fully assembled pot.
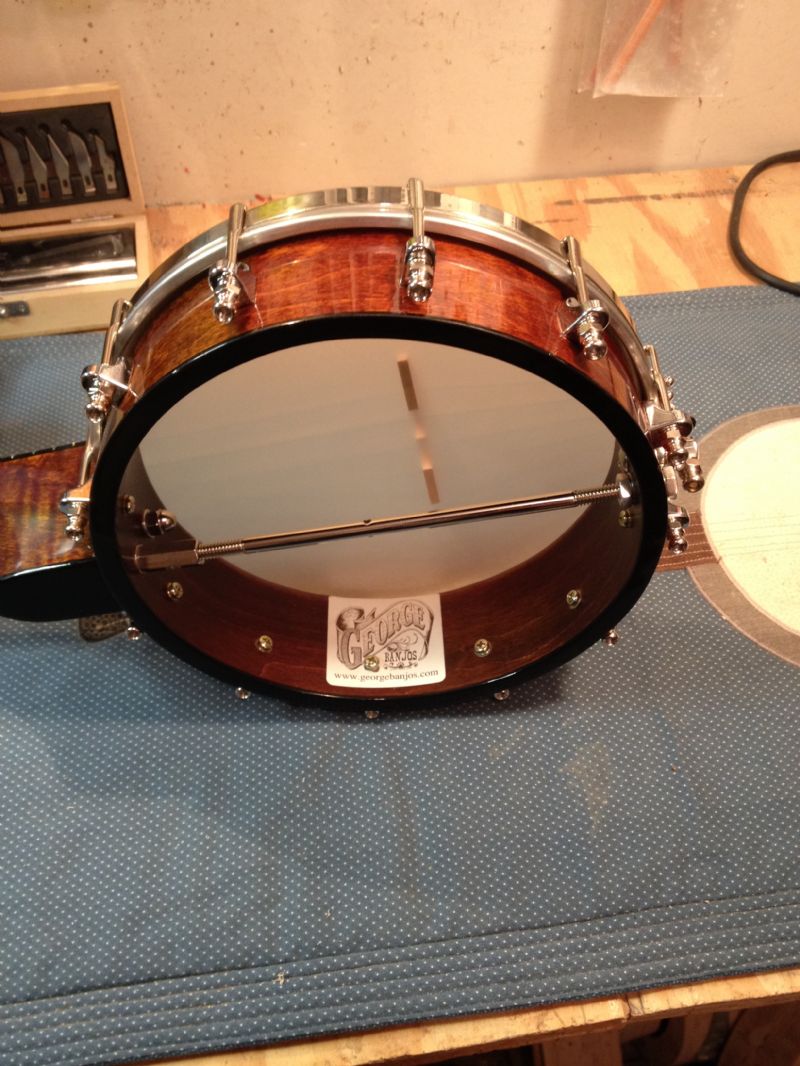
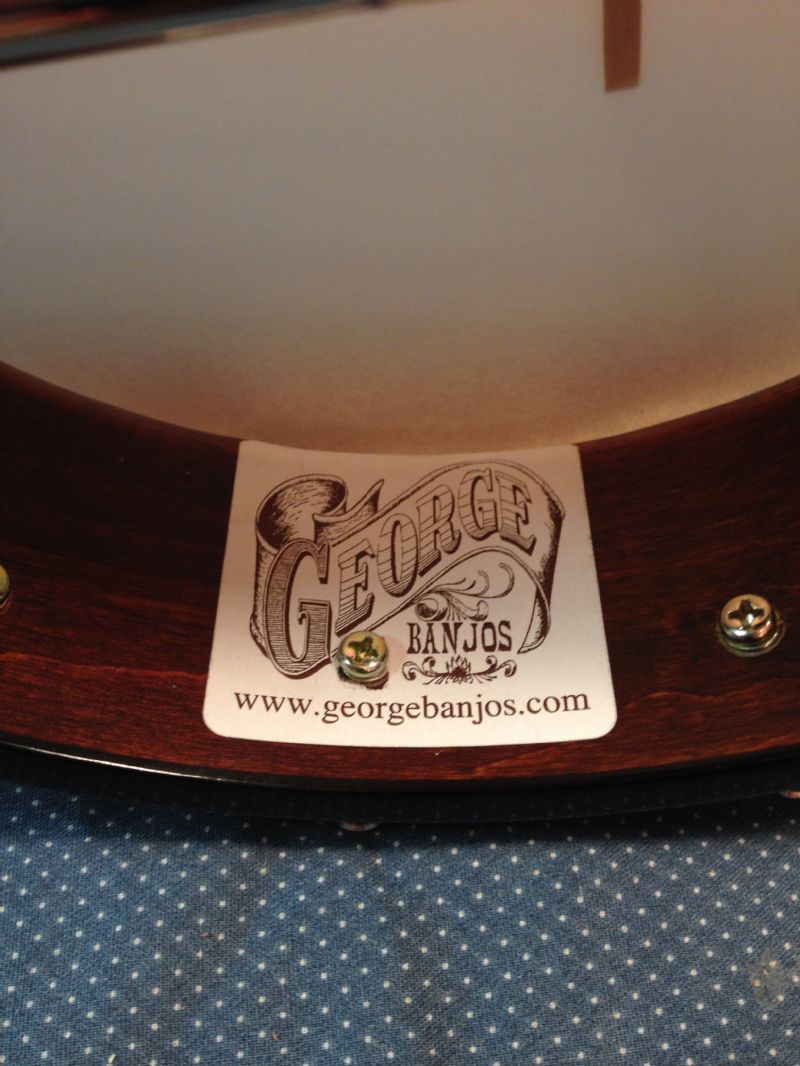
And here's a closeup of the George Banjos paper label that we use for banjo ukes.
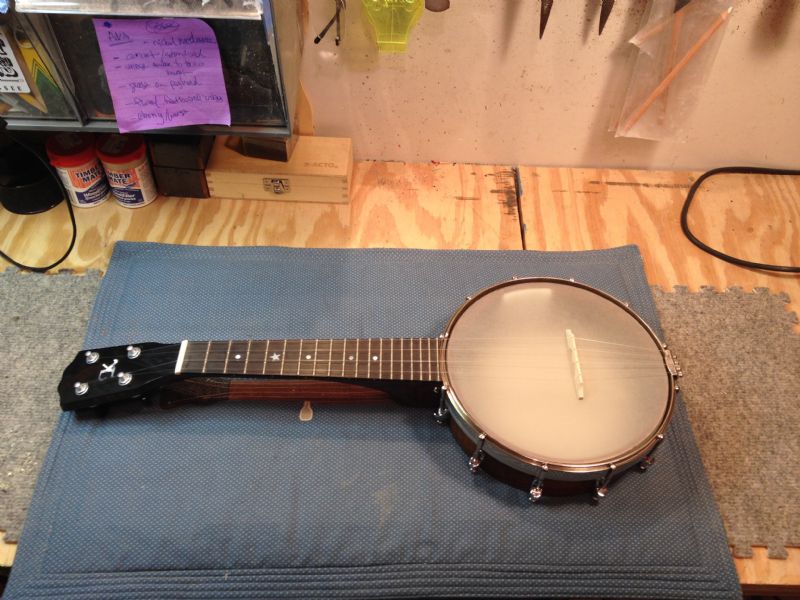
This is the completed banjo uke, front view.
And from the back.
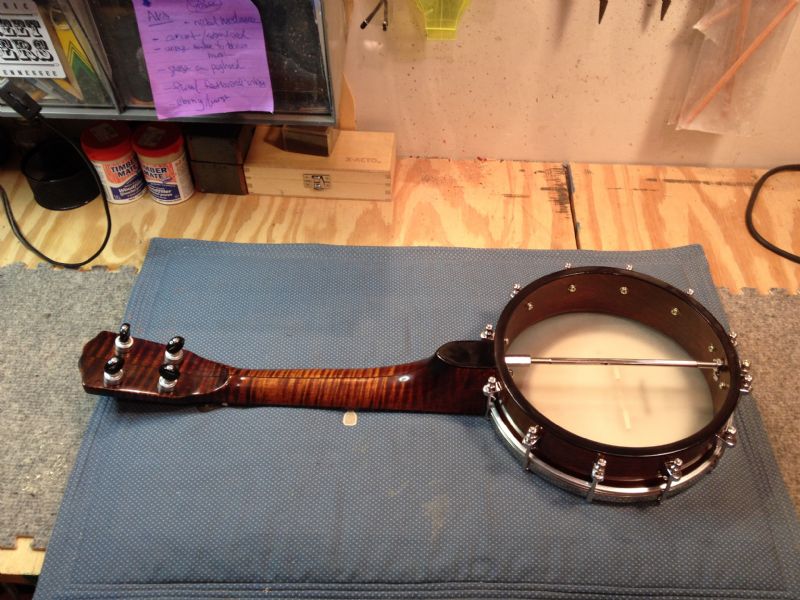
Note once again that we used the awesome new Gotoh geared uke tuners. You banjo uke players/builders out there have got to get these, they are smooth and clean and small and such an improvement over friction tuners.
CS Memphis - Posted - 01/28/2014: 08:11:36
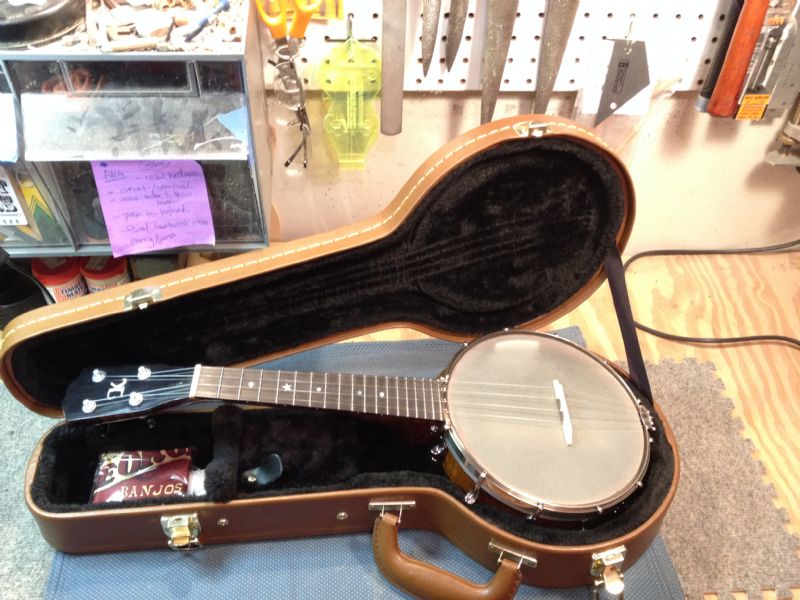
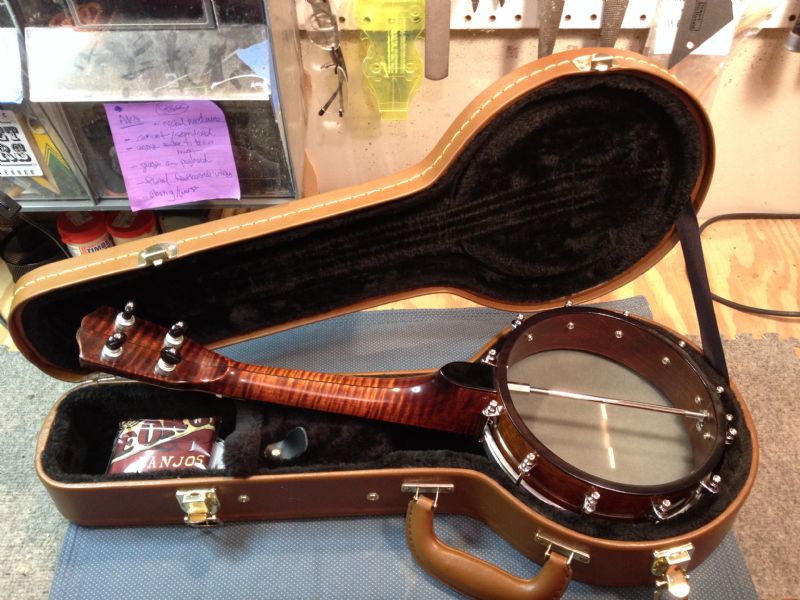
The final set of shots for this little uke-jo. Here's the front view of the uke getting all packed away in her case, getting ready for the trip to New York City! Lots of goodies in the case - a George Banjos polishing cloth, some stickers, a George Banjos key chain with flashlight, and a case tag. George Banjos really takes care of our customers! Plus a limited lifetime warranty against defect of manufacture - this baby was actually built to last several lifetimes, and hopefully Lilly, her beau and their future generations will derive much pleasure from it.
Here's the front view of the banjo uke in it's case...
And the back.
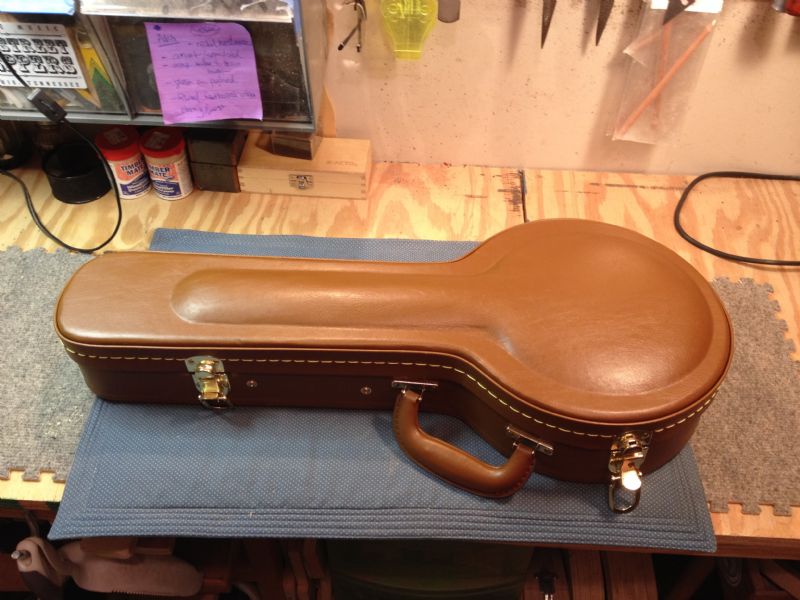
Finally, a shot of the case itself. Our buddy Kevin Enoch developed these cases, and you can get them from him or from Bob Smakula at smakula.com/
I hope you've enjoyed this little build. I'll be back in a few days, perhaps - got ten builds on the bench now, at least a couple of which would be great candidates for a BHO expose. Maybe I'll do a post about all ten of them and let y'all pick which one or two you want to see documented...
Dave1climber - Posted - 01/28/2014: 11:58:35
A very nice Ukeabanjo went into a very nice case, the new owners will love it.
Terms of Use | Privacy Policy | Privacy Consent (EU/GDPR Only)
Copyright 2026 Banjo Hangout. All Rights Reserved.